
Cayman Islands Home Renovation: Before & After Our Tropical Home Transformation

As many of you will know — either from my endless Facebook updates or from spotting us spending far too many weekends in home improvement stores — the past year has been dedicated to renovating our foreclosure apartment. And, finally, I can say it’s done.
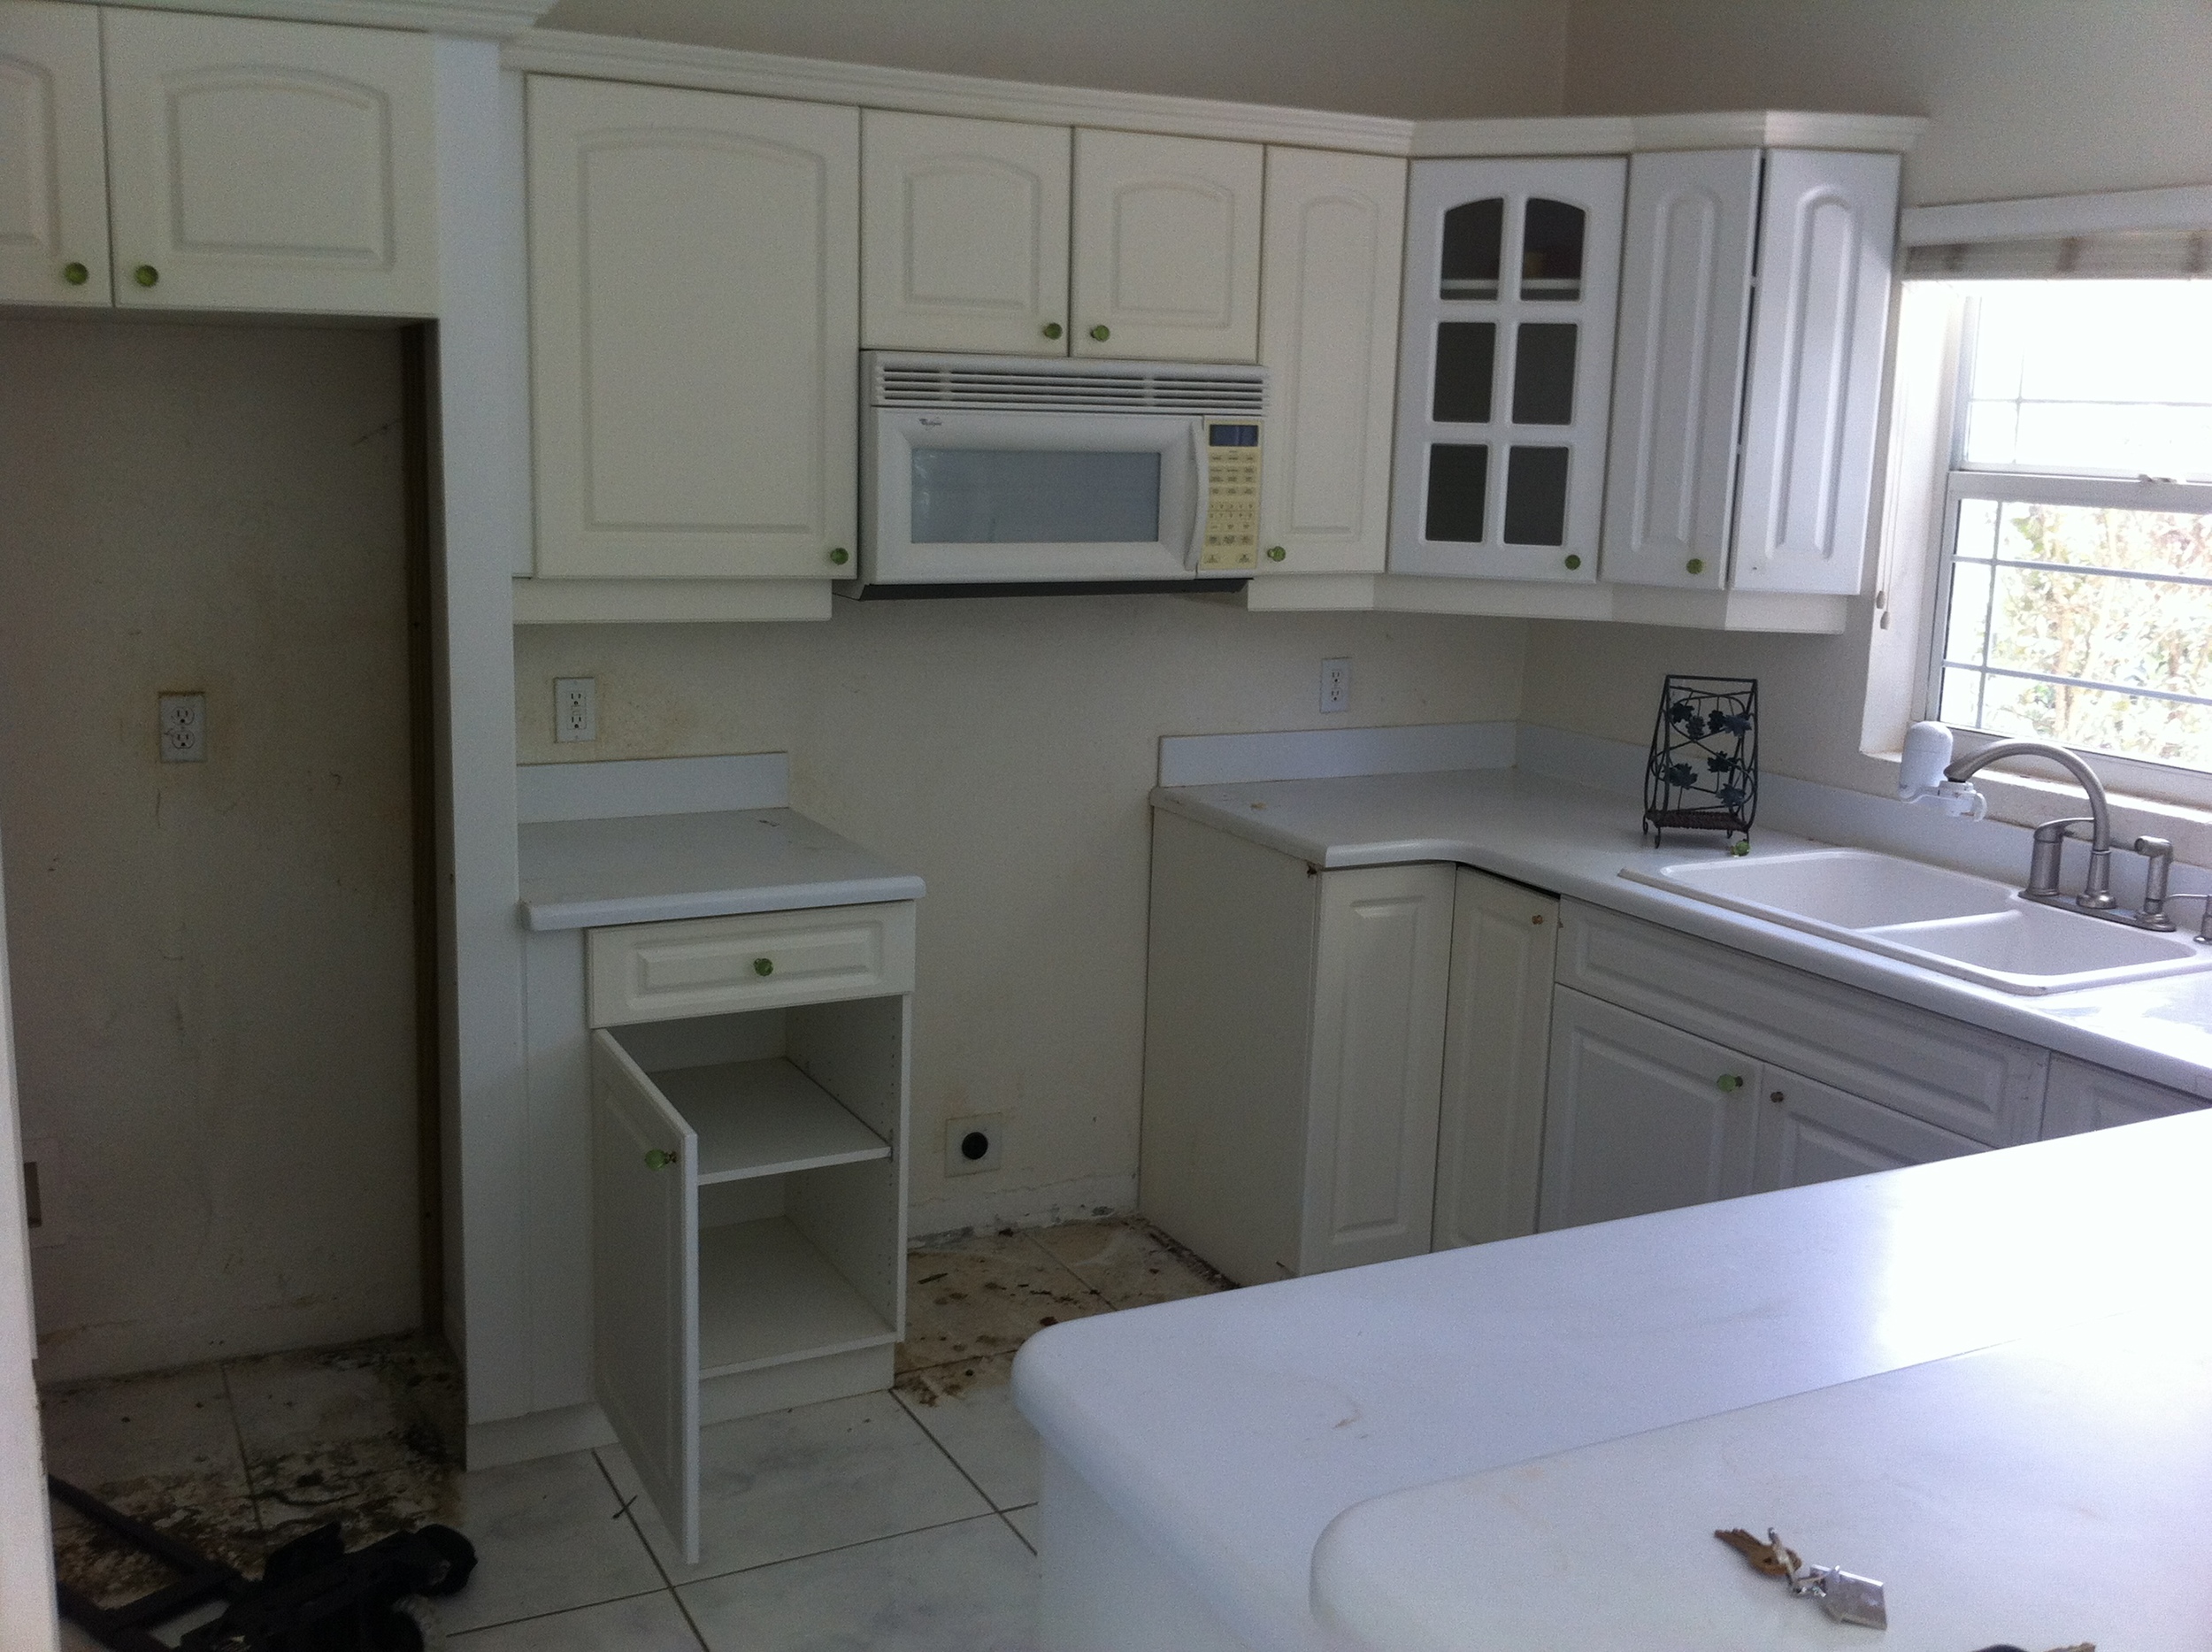
When we first walked in, it was a very different story. After sitting as a foreclosure property for two years, anything of value had long been stripped away, leaving us with little more than a shell. It was a challenge, but also an opportunity to completely reimagine the space and make it our own.
Here’s a glimpse of where it all began… brace yourself.


Inside Our Cayman Islands Home Renovation (As Featured in InsideOut Magazine)
We were recently featured in the October issue of InsideOut Magazine, sharing the story behind our Cayman Islands home renovation — from foreclosure property to a modern, Scandinavian-inspired space.
A Fixer-Upper in Grand Cayman
Cayman is known for its high-end homes, but not everyone is looking — or able — to buy something turnkey. When we came across a split-level townhouse in the Southern Skies development in South Sound, we saw potential where others might not have.
The property, just over 1,400 square feet with two bedrooms and 2.5 bathrooms, had been sitting as a bank foreclosure for two years. When we first walked in, it was far from inviting.
“The finishes and smell in the apartment were awful — stained carpet, dust everywhere, dead cockroaches and dog hair,” I remember. “But we fell in love with the space, the layout, the ceiling heights, and the jungle-like garden.”
It was exactly the kind of challenge we were looking for.
Planning the Renovation
With a clear budget in mind, we began planning the renovation carefully.
Mood boards became our starting point, using Pinterest and Houzz to define the look and feel we wanted. With Stefan’s background in architecture, we were able to rework the downstairs layout and build a full 3D model using Google SketchUp.
Being able to visualise the space made all the difference — from flooring choices to furniture placement.
We also had a quick consultation with our friend and interior designer, Katie Adams, who suggested moving the laundry from the kitchen to the upstairs hallway. It was a simple change, but one that made a big impact on both functionality and storage.
Sourcing Materials in Cayman
We prioritised sourcing materials locally wherever possible.
We found tiles at Edie’s Décor and designed a custom kitchen with Mario & Sons (now KW Woodwork). As the design came together, we also made a trip to Miami to source furniture and smaller pieces — something that quickly became a highlight of the process.
The Renovation Process
We carried out all of the demolition ourselves, with help from friends and family, and brought in professionals for more technical work such as plumbing, electrics, plastering, and tiling.
Finding the right tradespeople wasn’t always easy, and we quickly learned how important recommendations are when working on a renovation project in Cayman.
Transforming the Space
We approached the renovation from the ground up.
Downstairs, we replaced glossy tiles with porcelain wood-look flooring, and upstairs we used a darker finish for contrast. We loved the look of wood but wanted something more durable in case of flooding during hurricane season.
To stay within budget, we removed the existing kitchen and sold it, helping offset the cost of the new custom design. Appliances were sourced locally, and we installed a grey quartz Caesarstone countertop with a waterfall edge — one of our favourite features.
Upstairs, we focused on small but impactful changes:
Updating bathroom fixtures
Reworking storage with custom closets
Creating a feature wall in the master bedroom
Converting the bath into a walk-in shower with subway tiles and a rain shower
Each decision was made with both style and practicality in mind.
Lessons Learned
Looking back, one of the biggest lessons was budgeting realistically.
“Our initial budget was based on guesswork,” I admit. “Once we started researching properly, we realised it needed to almost double.”
We also learned to prioritise time as much as cost. While we initially planned to do everything ourselves, we quickly realised that some jobs — like painting — were worth outsourcing.
Breaking the project into smaller tasks helped keep momentum, especially during the more overwhelming stages.

Final Thoughts
There were moments when we felt like giving up, but seeing the transformation through made it all worthwhile.
“Renovating has been both exciting and frustrating,” I reflect, “but ultimately incredibly rewarding.”
Now that the work is done, we’re simply enjoying the space we’ve created — our first home, designed exactly the way we wanted it.
Budget & Resources
We purchased the property below market value due to its condition and spent approximately $50,000 on the full renovation.
Key suppliers and contractors:
Custom Kitchen – KW Woodwork
Tile Flooring – Edie’s Décor
Kitchen & Bathrooms – ITC Tile
Painting – Cheny’s Painting
Carpentry – TGCS
Electrical – Trinity Maintenance
The After Photos
Shot by Stephen Clarke
If you like this, check out our most recent renovation here:


